It’s cocktail time on a Wednesday! I’m still grinning from ear to ear thinking about my recent trip to New York City, so since I’m in a great mood, let’s talk about booze! We had this Cherry Limeade Cocktail during the holidays, but its…
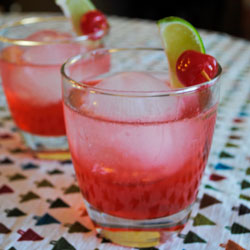
It’s cocktail time on a Wednesday! I’m still grinning from ear to ear thinking about my recent trip to New York City, so since I’m in a great mood, let’s talk about booze! We had this Cherry Limeade Cocktail during the holidays, but its…
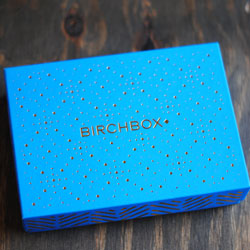
Last month I started subscribing to Birchbox. It’s a monthly service that sends hair, makeup, and skincare products in sample sizes for you try. I’d heard of Birchbox before, but was never really interested in that kind of stuff until lately. Since I’m new…
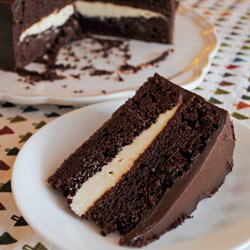
Forgive me for all these gnarly pictures I’m posting lately. I’m still playing catch up from holiday goodies and I just never get good pictures then. You’d never speak to me if I didn’t share this Deep Dark Mocha Cake with you though. I…

Changing up the topic today so I can share with you some of my favorite looks I’ve been wearing through Fall and now Winter. I’m just starting to care a little bit more about clothes, hairstyles, and makeup so I’ll be sharing my finds…
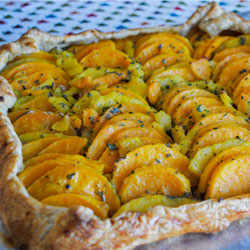
This Rustic Squash Tart is one of those recipes I love because it’s so unique and the presentation is really pretty. It looks like you put a lot of effort into it, but it’s really quite easy. Well, other than peeling butternut and acorn…
I know this time of year people are looking online for healthy foods and ways to get back in shape after the holidays. Trust me, I’m doing the same thing. As much as I’d love to give you that, I’ve got a list of…

I love meal planning, especially this time of year for holiday dinners. I always try to have a signature cocktail and this year was no different, although I think I made the best one yet! I picked Crimson Spice Champagne Cocktail for a few…
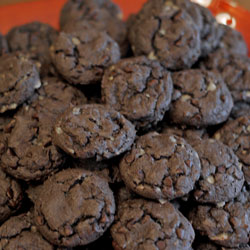
When I’m selecting cookies for Cookie Baking Day, I always try to include some non-chocolate varieties. I’m a chocoholic, so I’d have no problem having chocolate in every single cookie, but I know most people aren’t as crazy for chocolate as I am. I…
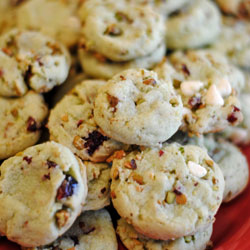
Still posting from Cookie Baking Day, so bear with me! How fantastic are White Chip Cran-Pistachio Cookies for the holidays! Green, red, and white all in one cookie! That is exactly why they made the list for cookie baking day 2014. I just can’t…

Merry Christmas! This is such a classic cookie in general, but I love to make M&M’s Cookies with the red and green M&M’s for the holidays. Way back in the day when mom and I started making Christmas cookies, these were always on the…
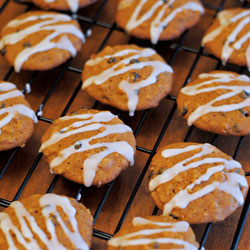
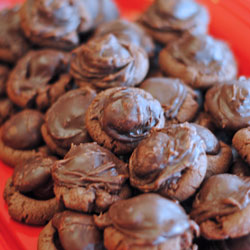
If you’re a coffee lover, you’ll love these Mocha Toffee Chocolate Cookies! Soft, chewy, chocolatey cookies sprinkled with mini chocolate chips and toffee bits and a taste of espresso. The espresso is really strong initially and gets more subdued the older the cookie. I…
You know those candies that come out over the holidays? That’s right, I’m talking about chocolate covered cherries! Sweet maraschino cherries covered in fondant and enveloped in chocolate. I’ve even seen a blueberry version, too. This is such a classic holiday candy for me.…