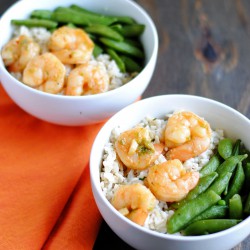
Meals that come together quickly, but bring so much flavor are winners in my book. This Chili-Garlic Shrimp with Coconut Rice and Snap Peas takes under 30 minutes to make! The bonus with this recipe is that you make more shrimp than you need and…
Meals that come together quickly, but bring so much flavor are winners in my book. This Chili-Garlic Shrimp with Coconut Rice and Snap Peas takes under 30 minutes to make! The bonus with this recipe is that you make more shrimp than you need and…
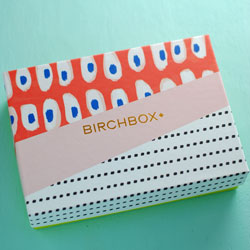
Another month, another Birchbox! (Ok so this was from March…I’m a little behind.) I’m starting to get quite the collection of beauty samples, but I can’t resist seeing what comes every month. Skincare, haircare, makeup, you never know. Life is like a box of…
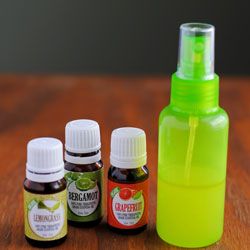
This post has me giggling like a 12-year-old. Let’s talk about poo, shall we? Yep, I’m serious. Pinterest has sucked me in again, but this time with success! I landed on the One Good Thing blog where she makes a DIY version of the…

It’s been a little quiet around the blog lately because So, How’s It Taste got a makeover! I’ve been dying to reveal that this was going on behind the scenes and the new look went live yesterday! The biggest change you’ll start to see…
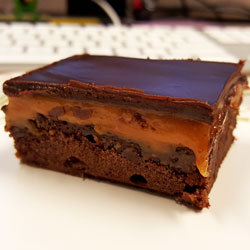
I remember being so excited when I put these Peanut Butter-Honey Brownies on my office birthday treat list. I couldn’t wait for someone to choose them. Brownies are so good by themselves, but when you put goodies on top, even better! I’ve had brownies…
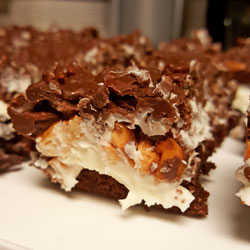
Nothing gets my mouth salivating like dessert. If I had it my way, I’d eat it every meal for my meal. I have a killer sweet tooth and if it weren’t for practicing a bit of willpower, you’d see me on that My 600-lb.…
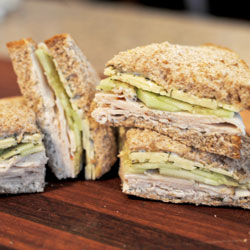
I have such a love affair with sandwiches. I think they’re completely underrated and you can get really creative with them, too. Although there’s nothing wrong with a good ol’ PB&J. I’ve got a pretty decent sandwiches category on the blog, but I’m always…
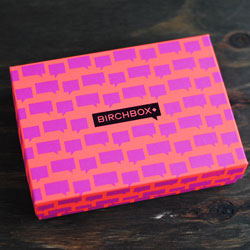
My third Birchbox came in February and I tell ya, I almost get more excited about finding out what the box is going to look like than the products inside. I’m still enjoying being exposed to brands and products I’ve never heard of, but…
I thought long and hard before writing this post. Did I really want to use my blog to call out a company? Did I really want to potentially burn a bridge with one of the biggest food companies out there? After giving plenty of opportunities…
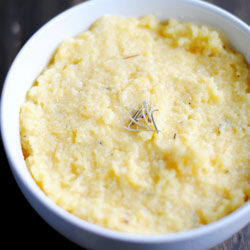
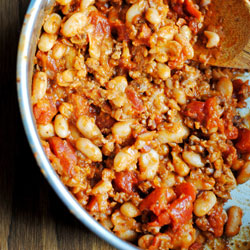
Look at that simple bowl of polenta. Unassuming, nothing fancy, but oh how your eyes can deceive you! This Rosemary Parmesan Polenta is one of those dishes that I want to faceplant in and eat my way out. Yes, to all zee carbzzz! I…
Posts have been a little scarce around here lately, but for good reason. So, How’s It Taste had a little behind-the-scenes makeover and you should notice how much faster the site is! It’s lightning fast thanks to moving to a new hosting company. More…
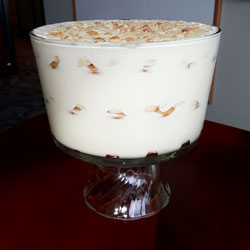
Making this Magnolia Bakery Banana Pudding is probably the most excited I’ve been so far about an office birthday. I was really hoping someone would pick this dessert from The List and it finally happened! I visited New York City back in January and…