Can you believe it’s the last day of February already? This year is flying by too fast, although I’ll admit I’m ready to hang up my winter coat and welcome in warmer weather. February’s challenge was to write down three things each day for…

Can you believe it’s the last day of February already? This year is flying by too fast, although I’ll admit I’m ready to hang up my winter coat and welcome in warmer weather. February’s challenge was to write down three things each day for…
I made it to the end! If I’m being honest, I’ve never been so happy to close out a month. To catch up, read this post on my Year of 30-Day Challenges. January was reduced sugar month and I’m so glad I did it…
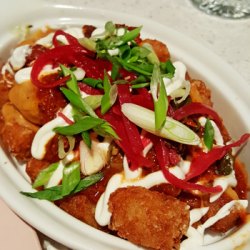
It seems like every other day a new restaurant is popping up in Nashville. My “to dine” list is growing and growing and growing! Last month I finally got the chance to check out The Mockingbird. This place is the cutest, down to the…
Hi there! We’re about halfway through January, so I thought I’d give a mid-month update on how the reduce sugar 30-day challenge is going. Check out my Year of 30-Day Challenges post to see what I’m doing each month. Overall, it hasn’t been too…
Do you make a resolution for the new year? I usually do, but nothing formal, and it’s almost always to lose weight. Honestly, after a day or two, I forget I made one. This year I’ve decided to challenge myself to something more meaningful,…

Earlier this month, my mom and I spent three days in San Antonio, Texas. San Antonio has been on my list to visit for a while and ended up being the perfect destination for a December vacation. We had airplane fare that was about…
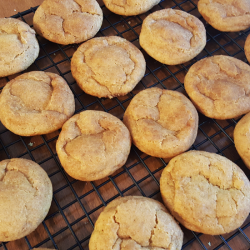
My coworker Katherine made these Pumpkin Snickerdoodles several times this year and from the first bite I knew they’d make the Cookie Baking Day list! People rave about these cookies and I can taste why. It’s the best of the classic snickerdoodle, plus pumpkin…

New to Cookie Baking Day were these Tropical Chewies. We usually bake only two of the same type of cookies from year to year, so it’s always fun to have something new on the menu. These cookies are full of goodies: white chocolate chips,…
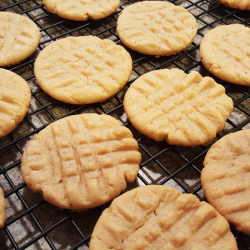
It’s hard to believe after so many years of Cookie Baking Day, that we rarely bake peanut butter cookies. I think it’s because I thought they’d be too time consuming with the rolling and fork-squishing (ha!). This year I was feeling nostalgic for all…

I have been itching to get in the kitchen and make candy, so yesterday my friend Laura came over to make Sugar Plums (and other goodies)! There are several sugar plum recipes out there, some include figs and other spices, but I was sold…
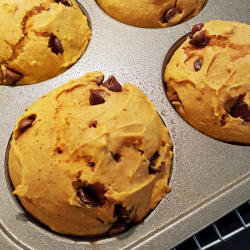
The PC Muffin is my absolute favorite muffin from Fido here in Nashville. Funny thing is I discovered it at a different coffee shop. A few years ago I worked down the street from a coffee shop that sold Fido goodies and my standing order…
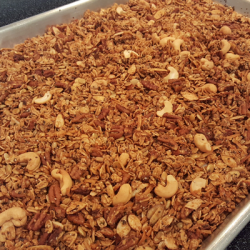
My reign of stinginess is over. I got this recipe for granola from my boss and it has ruled my breakfast for months. I teased about it back in April on instagram…twice. Shame on me for just now sharing it. It’s the first time…